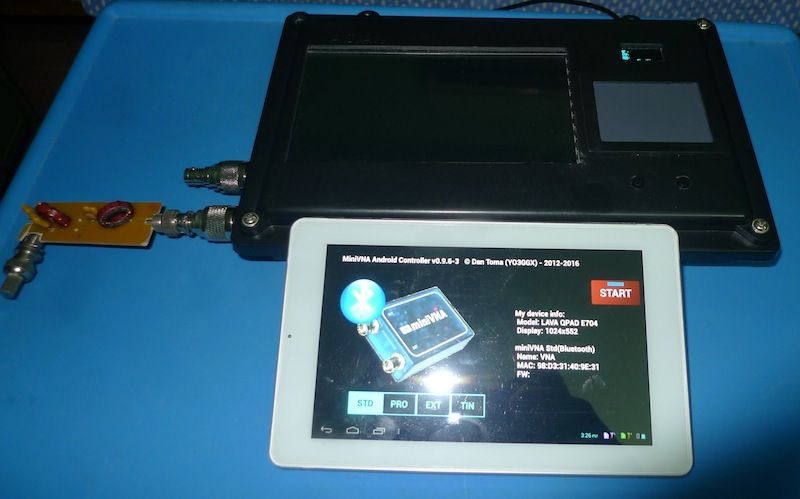
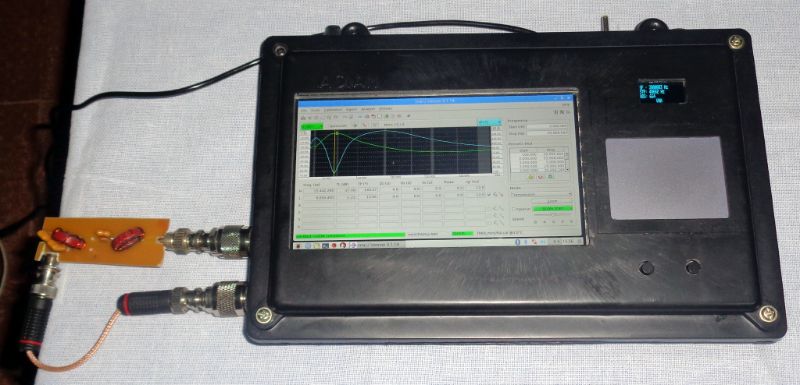
Gopan VU2XTO has done an amazing hack. He packaged an F4GOH VNA together with an RaspberryPI 3, an LCD touch display, a touch pad and a small OLED display in a little box and - voila his standalone VNA is ready to go.
Here a short description from Gopan how he did this - for any questionx regarding his solution, please contact him directly.
Installation process is done in 4 steps - see below:
Installation of OS on Raspberry Pi
OS for raspberry pi can be downloaded from here. Operating system is the LInux flavour Raspbian Jessie with PIXEL.
Apple Mac users can install OS on Rpi by referring this link. I am a mac user and I was following the same instructions.
Windows users can follow this way to install.
- Install the downloaded .img file to 8GB sd card putting it in a card reader and using a software called Win32 Disk imager.
- After the installation, remove the card from card reader and put it in Raspberry Pi3.
- Connect one high resolution HDMI monitor, usb keyboard and mouse to Rpi and power it up.
- It will start the installation process. It may take some time to complete the installation. Once it is over, click the mouse on the task bar and enable WIFI and let it connect it to your WIFI Internet.
- If WIFI is not there connect, internet an Ethernet cable to the network port of Raspberry Pi.
- Click on terminal icon on the taskbar and update the OS components
sudo apt-get update - This will also take some time to finish the updation. Once the updation complete type
sudo apt-get upgrade
Configuring 7" HDMI touch Display (7inch HDMI 1024×600 Capacitive Touch Screen , Make Waveshare..)
- After upgrading the OS type the following on terminal window.
sudo nano /boot/config.txt - File get opens and scroll down then correct the lines as shown below
max_usb_current=1
hdmi_group=2
hdmi_mode=87
hdmi_cvt 1024 600 60 6 0 0 0 - press Ctrl and X on keyboard , then "Y" , Enter
- Now you can close terminal for the time being and shut down.
- Connect 7" HDMI 1024x600 Waveshare touch display to the HDMI port and the power line of display to the USB port.
- Power on raspberry pi and you can see things on 7" display .
Auto start configuring vna/j after booting Raspberry Pi3
- Then copy folder named jar with vnaj3.1.14.jar file in a pendrive and paste it in to raspberrypi's home/ pi directory
- Open terminal window and type
sudo nano /home/pi/ .config/lxsession/LXDE-pi/autostart - a file get open , scroll down and then type the following at the last line
@java -jar /home/pi/jar/vnaj.3.1.14.jar - press Ctrl and X on keyboard , then "Y" , Enter
- type reboot and enter. Rpi will reboot by loading vna/J on startup .
Configuring Rpi's Internal Bluetooth with HC05 module on VNA
- Connect the VNA to Rpi only through bluetooth.
- Kindly do not try to connect your VNA hardware to the USB of Rpi with usb cable unless if you have USB isolation circuit. If happened to connect with usb cable direct with in one few on off operation your MIMIC amplifier on VNA board will get damaged.
- Open terminal window and type
sudo apt-get install blueman - after that
sudo apt-get install bluez bluez-firmware - Then
reboot - Make sure VNA bluetooth module is ON . Enable bluetooth icon on the taskbar of RPI and click on discovarable.
- Connect HC05 and for pairing type 1234. It will get paired but will show a message that No service available .
- Again open terminal and type
hcitool scan - After scanning it will show something like 98:D3:31:40:9E:31 ( This is my BT id ). Note the numbers in the shown format.
- Type the following on terminal again
sudo nano /etc/bluetooth/rfcomm.conf - A file get open and type the following ....
rfcomm1 {
bind yes;
device 98:D3:31:40:9E:31;
channel 1;
comment "vna";
} - press Ctrl and X on keyboard , then "Y" , Enter
- blue colour lines
- the bluetooth id you got while scanning.
- HC05 bluetooth dongle name seen when you paired it. I had renamed my hc05 bluetooth dongle as "vna" just for fun. So it was displaying as vna and i have to write that name after the comment . it should be in inverted commas.
- Type the following on terminal
sudo nano /etc/rc.local - A file get open and scroll down. Bring cursor in between Line fi and Line exit0
- Type
rfcomm bind /dev/rfcomm1 98:D3:31:40:9E:31 1 - press Ctrl and X on keyboard , then "Y" , Enter
- The blue colour id should be your bluetooth id only.
- Type
reboot and ENTER - After rebooting, Rpi will get loaded with vna/j and then click on Analyser setup , select VNArduino .. there you can see rfcomm1 and ttyAMA0.
- Select rfcomm1 and test and update.
That is all about configuring RPi3 for vnaJ.
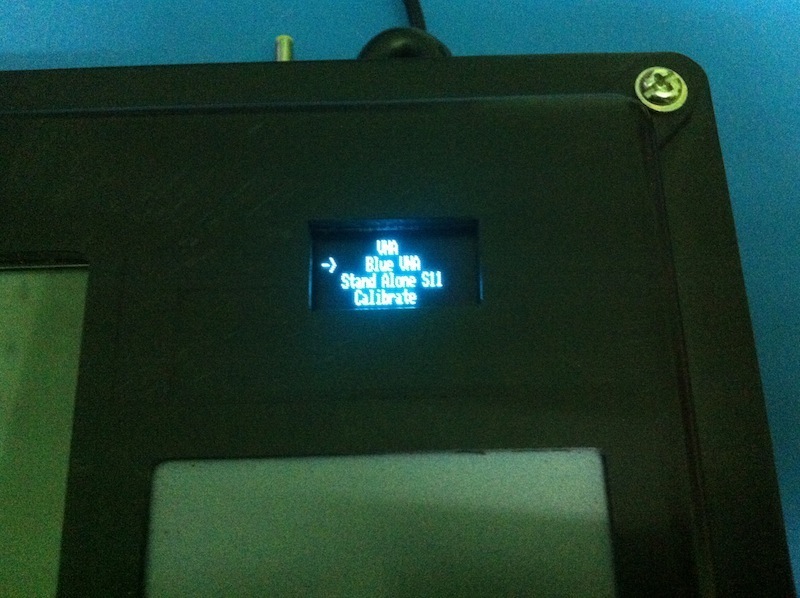
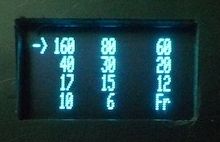
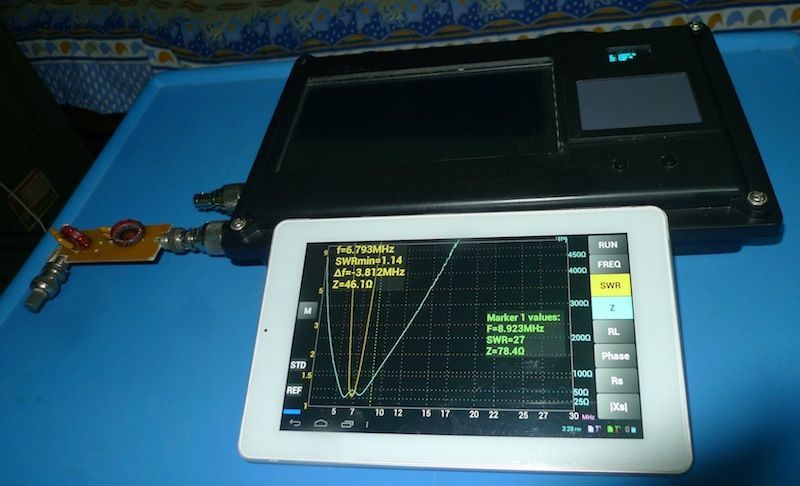
Please find here some more pictures Gopan send me: